I started blogging with GitHub pages as a hobby and wrote few articles. I had also integrated Google Analytics so I noticed that some of my posts were gaining more organic traffic than I expected. I then decided to use custom domain for my blog so that it would help to create a brand value. Few months later, I created another static portal and decided to host it in the GitHub pages but in the sub-domain. At first, I faced some issue but after some hit-and-trial in Cloudflare, I succeeded to linking another portal in the sub-domain. In this article, I will show how you can configure a custom domain as well as sub-domian for your GitHub pages in Cloudflare.
The first step is to host your site in GitHub Pages and make sure it is accessible at https://username.github.io or https://username.github.io/repo. Also register for a custom domain, if you have not already registered.
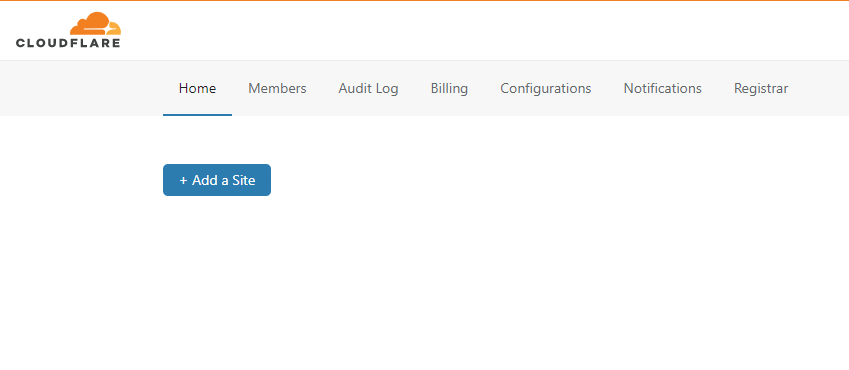
Once your site is up and running on GitHub pages and you have your custom domain, head towards https://www.cloudflare.com/, sign up for an account if you are not already registered. After you login, you will see following page.

Click on Add a Site button and enter your domain name to add it in the Cloudflare. After adding the site, Cloudflare asks you to update the nameservers in your domain and provides you two nameservers which are in the following format.
first.ns.cloudflare.com

second.ns.cloudflare.com
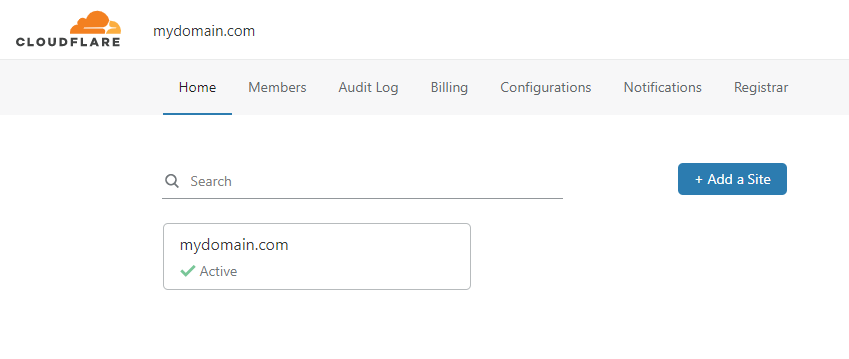
Now you’ll need to update the nameservers of your domain. Login to your domain registrar portal and update the nameservers that are provided by Cloudflare. It may take upto 24 hours for your name servers to be updated and get verified in Cloudflare. Once your nameservers are verified, you’ll see your site in home page of Cloudflare with Active status like below.

Click on your site and you will be prompted to configure some basic setups. You can follow the instruction and set it up or if you want to setup later, you can also skip it. After the setup, you will be taken to the dashboard of your site. Click on DNS in the header section.

Now click on Add Record button. In the type section, chose CNAME from the dropdown list. In the name field, put @ if you want to use your root domain (e.g. mydomain.com) as a custom domain for your GitHub pages site. If you want to host your GitHub pages site in the sub-domain (e.g mysubdomain.mydomain.com), then you need to put subdomain (e.g. mysubdomain) in the name field. In the target field, put your GitHub page domain (e.g. username.github.io) and click on save.
To enable your site to be accessed with www (e.g. www.mydomain.com), you will also need to add another record. Chose CNAME as type, put www in the name field, put @ in the target field and click on save. Now the configuration in the Cloudflare is completed.
Now you need to add CNAME in the repository of your GitHub pages. You can do this by two methods.
The first method is, you have to create a file named CNAME (case-sensitive and no extension), open it in a text editor and write your domain name (e.g. mydomain.com) or if you want to host it in the sub-domain, write your sub-domain name (e.g. subdomain.mydomian.com). Save the file and commit it to your repository.
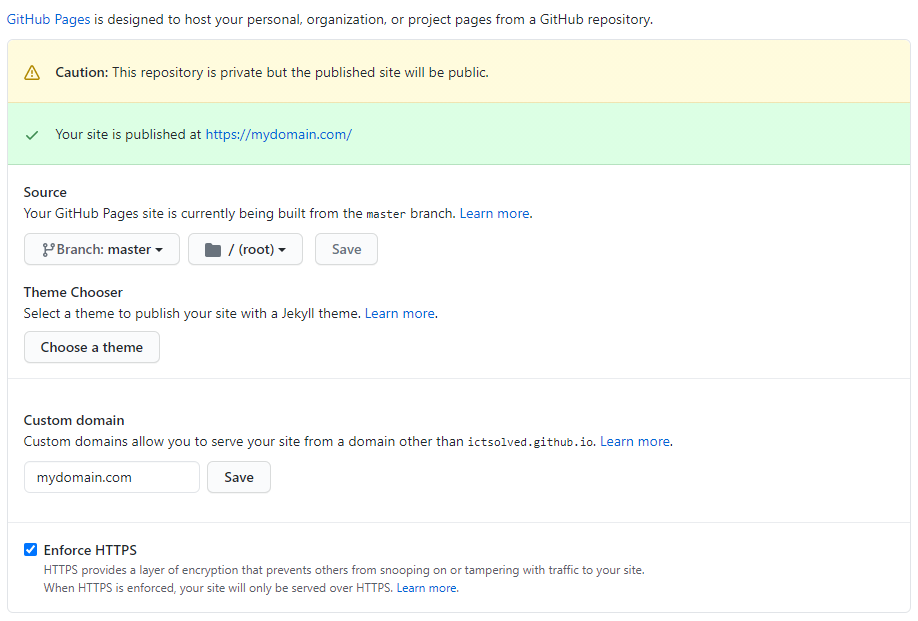
The second method is, you can do it directly from the settings of your repository. Open your repository in GitHub and click on Settings tab, now scroll below until you see Custom domain section. In the text field, insert your domain name (e.g. mydomain.com) or if you want to host it in the sub-domain, write your sub-domain name (e.g. subdomain.mydomian.com) and hit save. The CNAME file with your domain will be automatically created and committed in your repository.

Now wait for a minute or two until your build finishes and refresh the settings page. You’ll see the banner, “Your site is published at” with your custom domain. Now you can head over to your custom domain or sub-domain.
This way, you can host your GitHub pages site in the custom domain as well as sub-domain of you custom domain. Instead of hosting your repository pages to mydomain.com/repo, you can host it into subdomain.mydomain.com with this approach. This also helps to show correct icons and site name of repository pages in Google search results and performs better in SEO.

 11 Feb 2021


